
A-Frame VR Tutorial
Building Animated 3D Boxes in WebVR
1
Setting up the HTML file
- Open a code editor (VS Code, Sublime Text, or Notepad++)
- Create a new file named index.html
- Add the A-Frame library in the <head>:
<script src="https://aframe.io/releases/1.6.0/aframe.min.js"></script>
2
Creating the A-Frame Scene
Inside the <body>, add the <a-scene> element. This is where all VR objects live:
<a-scene>
<!-- 3D objects go here -->
</a-scene>
3
Loading Assets (Textures & Images)
A-Frame uses an <a-assets> block to preload images, models, and sounds.
<a-assets>
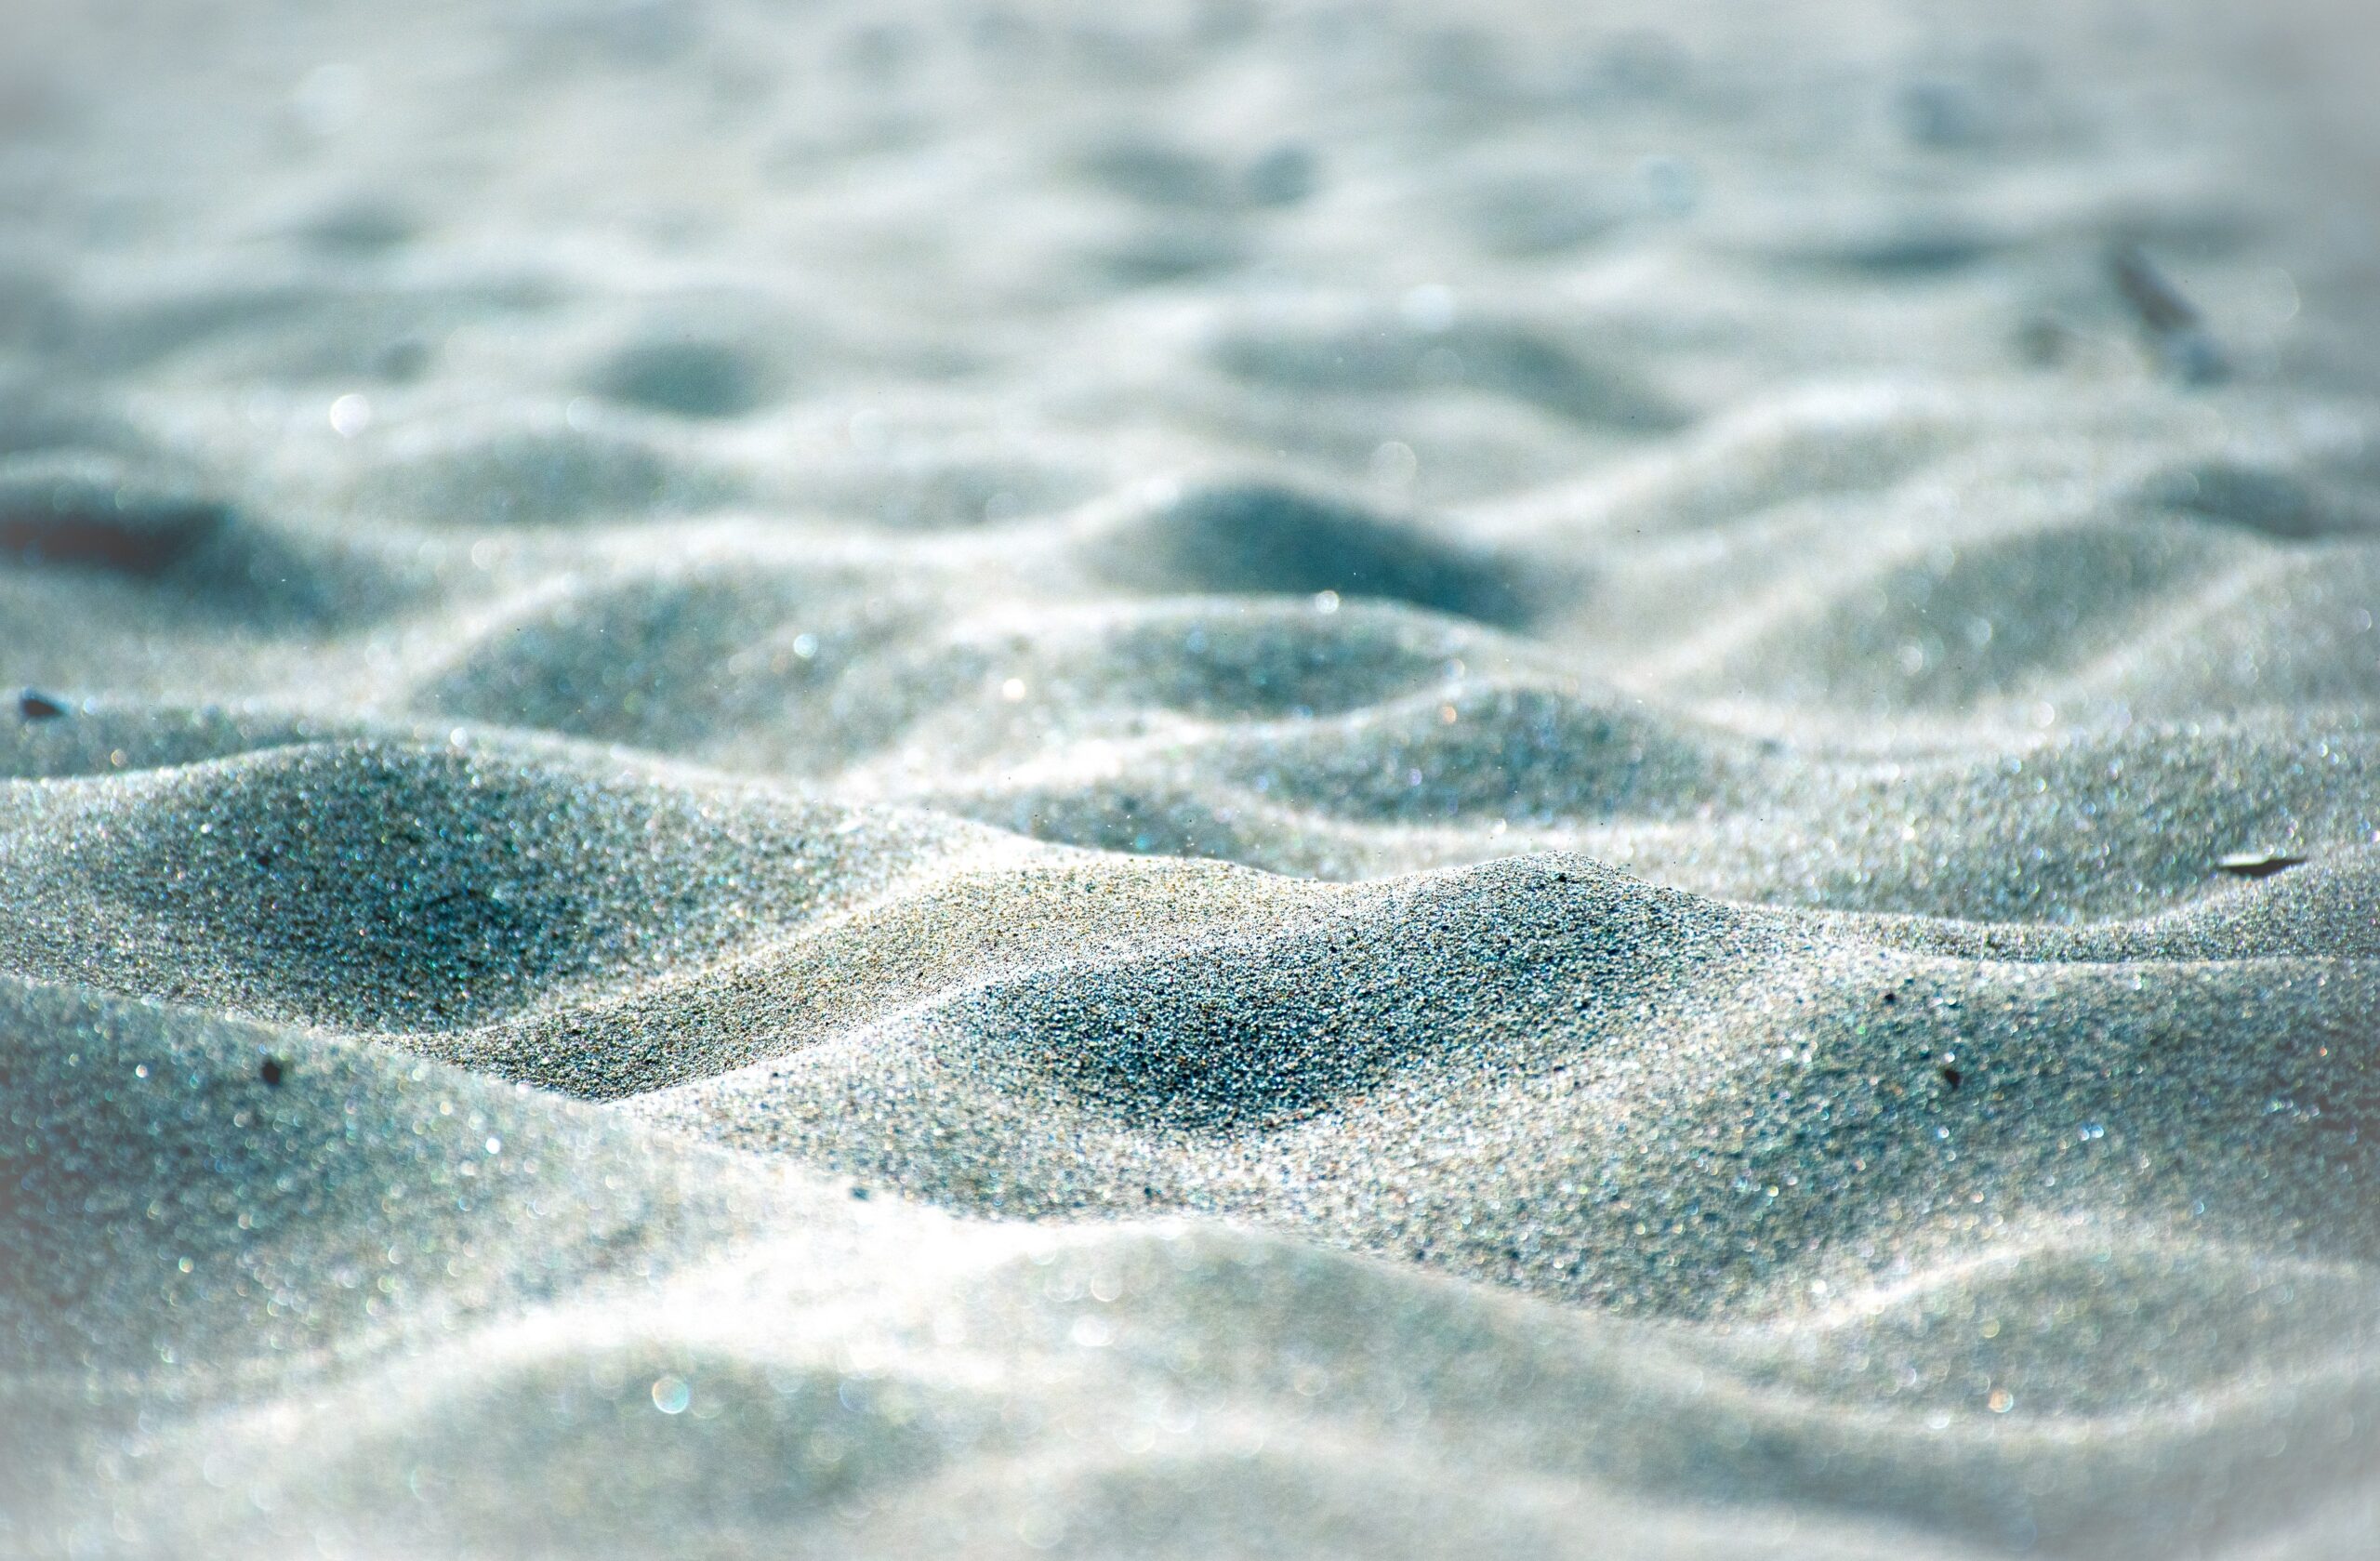
<img src="groundsand.jpg" id="floor">
<img src="clouds.jpg" id="sky">
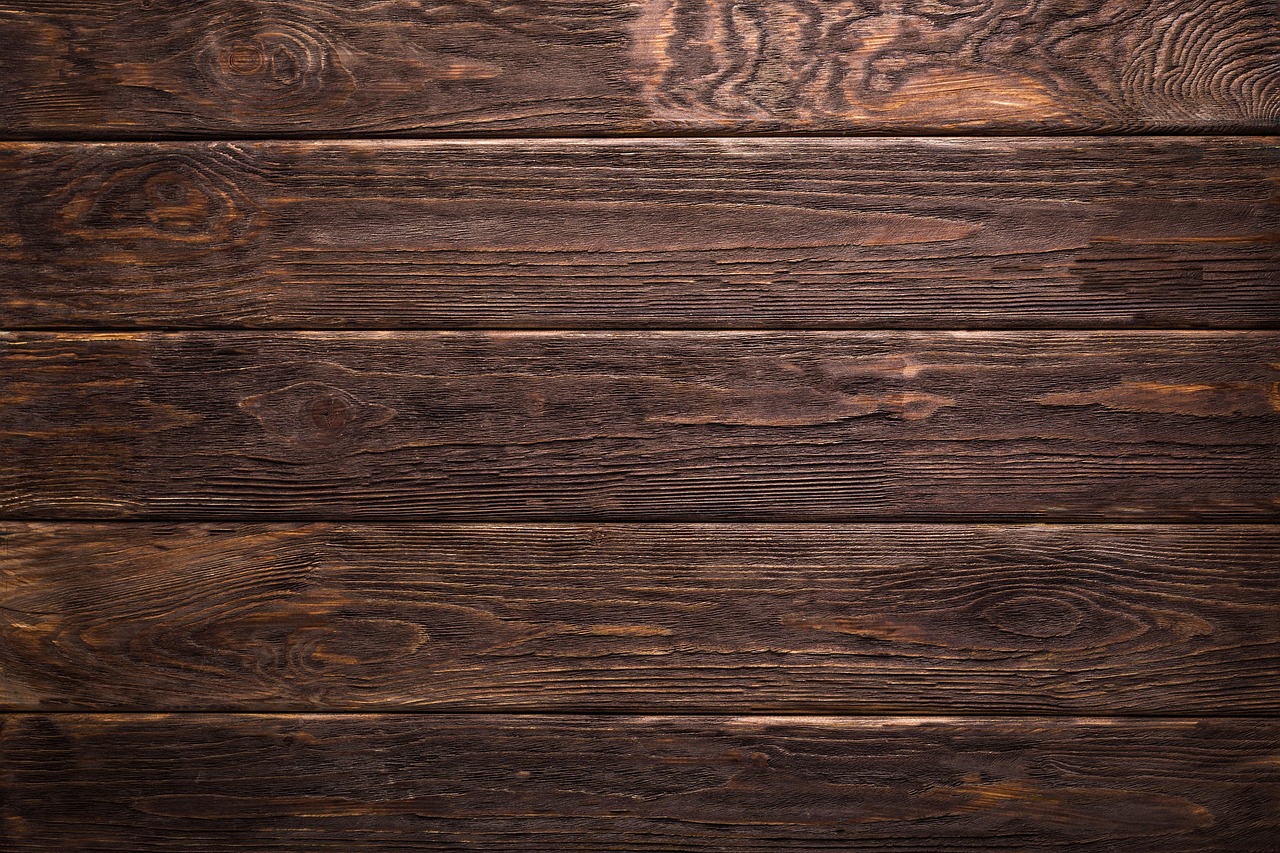
<img src="wood.jpg" id="wbox">
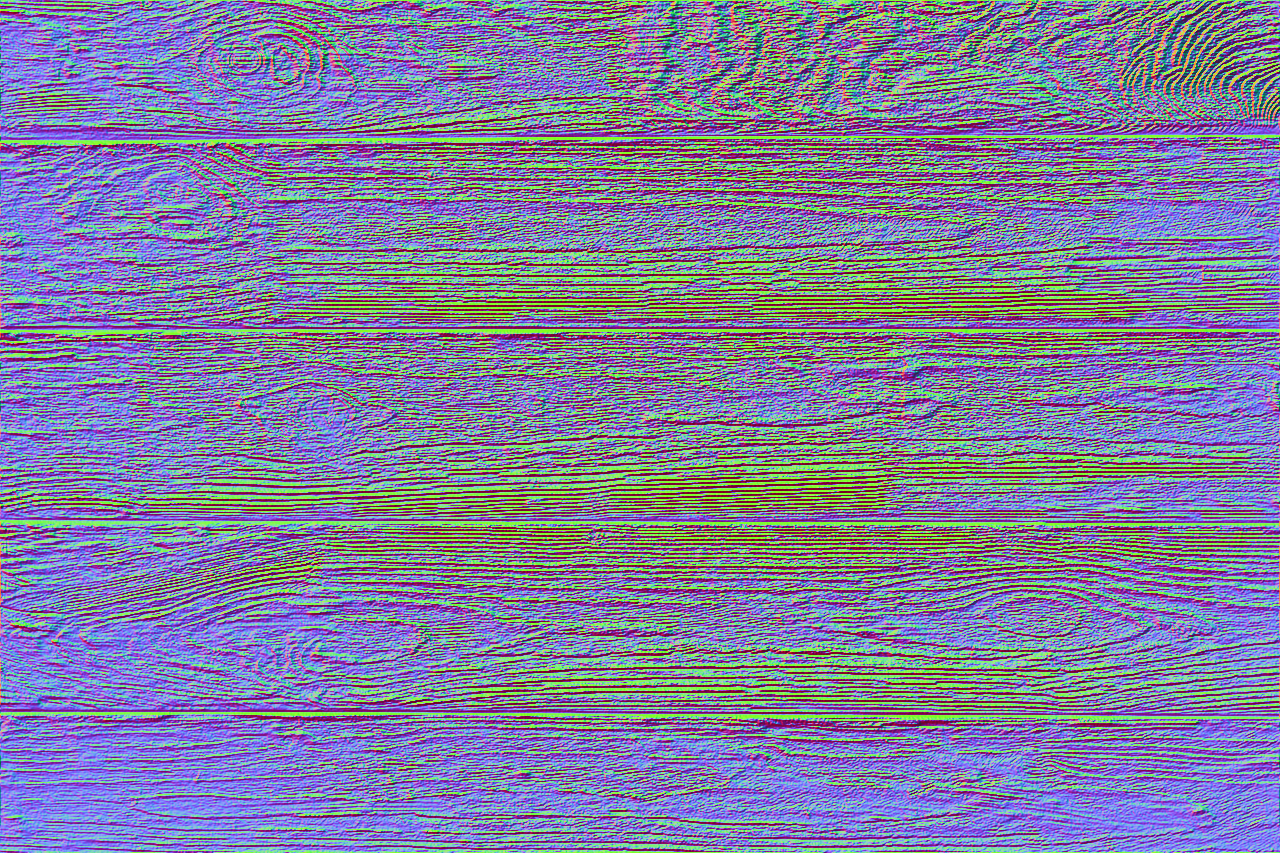
<img src="bolt.png" id="nwood">
</a-assets>
4
Adding the Sky
To create a skybox background:
<a-sky src="#sky"></a-sky>
This wraps the entire scene in the clouds.jpg texture.
5
Adding the Ground Plane
We'll add a large plane and texture it with sand:
<a-plane src="#floor"
rotation="-90 0 0"
scale="100 100"
repeat="8 8">
</a-plane>
- rotation="-90 0 0" makes the plane flat
- scale="100 100" enlarges it
- repeat="8 8" tiles the sand texture
6
Adding Animated Boxes
Now let's add two boxes that spin and move up/down.
Rotation Animation
Makes boxes rotate continuously
Up/Down Animation
Makes boxes bounce up and down
<a-box src="#wbox" height="4" width="4" depth="4"
position="0 2 -10" normal-map="#nwood" roughness="3"
animation="property: rotation; to: 0 360 0; loop: true; dur: 1000; easing: linear"
animation__updown="property: position; dir: alternate; dur: 1500;
easing: easeInOutSine; loop: true; to: 0 4 -10; from: 0 2 -10">
</a-box>
<a-box src="#wbox" height="4" width="4" depth="4"
position="6 2 -10" normal-map="#nwood" roughness="3"
animation="property: rotation; to: 0 360 0; loop: true; dur: 1000; easing: linear"
animation__updown="property: position; dir: alternate; dur: 1500;
easing: easeInOutSine; loop: true; to: 6 4 -10; from: 6 2 -10">
</a-box>
7
Save & Test
- Save your file as index.html
- Preview from HTML editor
- Click and drag to look around the VR scene
- (Optional) Use a VR headset to experience it fully
Summary
Step 1
Set up HTML & load A-Frame
Step 2
Create <a-scene>
Step 3
Load textures in <a-assets>
Step 4
Add sky
Step 5
Add ground
Step 6
Add and animate boxes
Important: Make sure to preview the code directly from your HTML editor, otherwise texture on objects will not be visible.